
Are you looking for a comprehensive guide on See Electrical? Look no further. In this article, we will cover everything you need to know about See Electrical, a powerful electrical design software used by engineers, contractors, and electricians worldwide.

What is See Electrical?
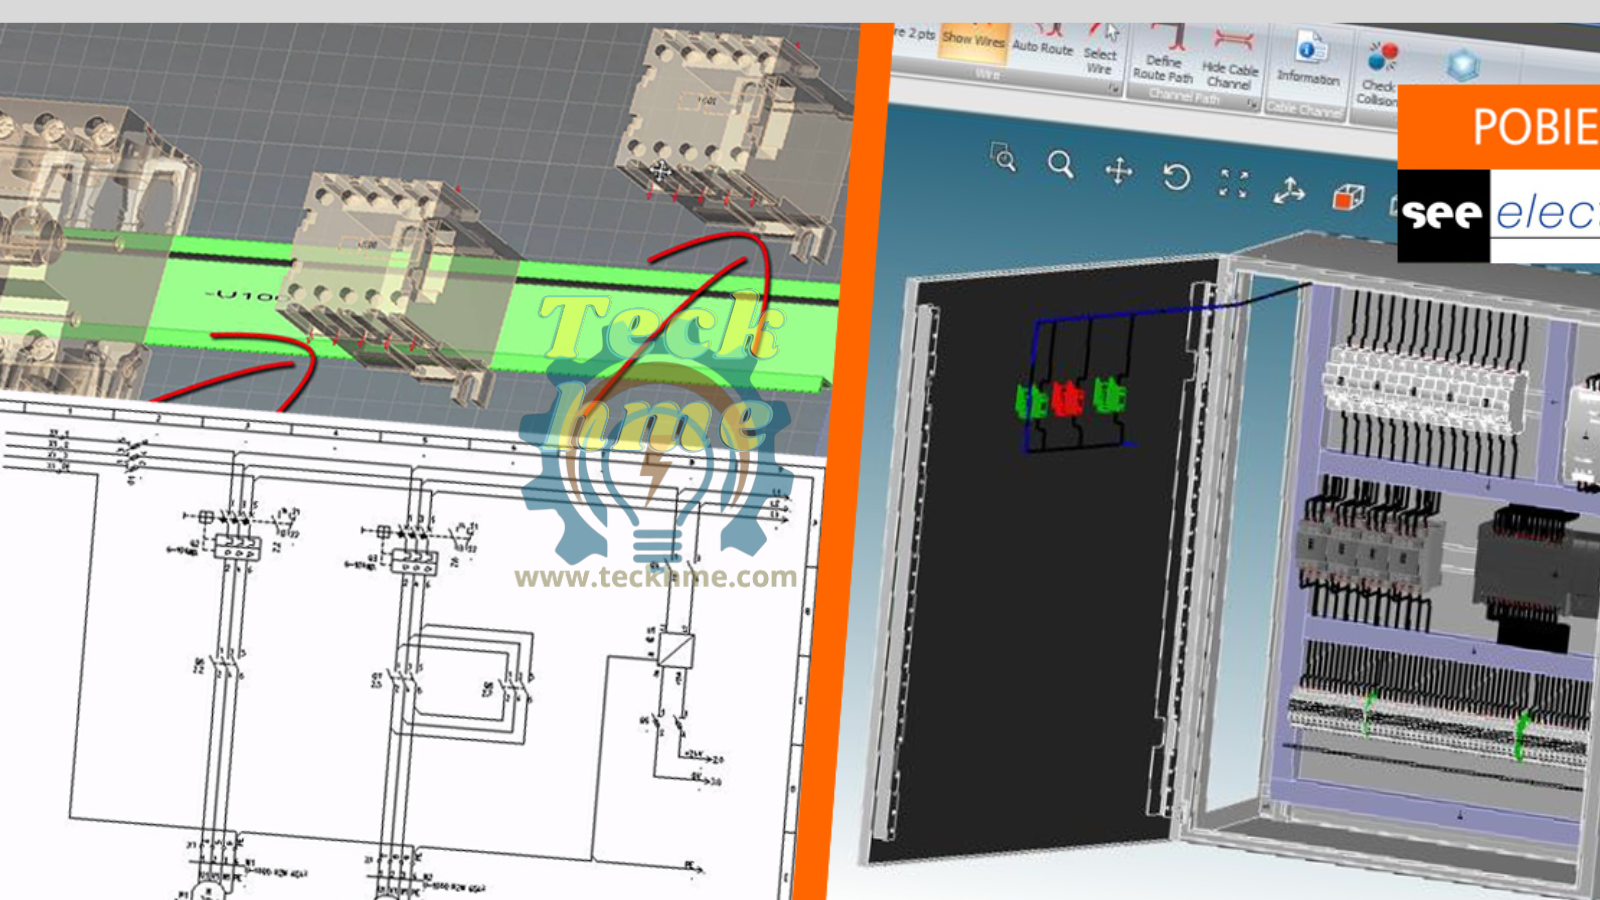
See Electrical is an electrical design software developed by IGE+XAO, a leading software provider in the electrical engineering industry. The software is used to create electrical diagrams, schematics, and panel layouts. It is available in three versions: Basic, Standard, and Advanced, each with different features and capabilities.

Why Use See Electrical?
See Electrical is a powerful tool that can streamline the electrical design process. Here are some reasons why you should consider using See Electrical:
- Easy to use: See Electrical has an intuitive interface that is easy to navigate, even for beginners.
- Time-saving: See Electrical automates many repetitive tasks, such as numbering wires and components, saving you time and reducing errors.
- Accurate: See Electrical helps ensure accuracy by checking for errors and inconsistencies in your designs.
- Customizable: See Electrical allows you to customize the software to fit your specific needs, with features like custom symbols and macros.
- Collaboration: See Electrical allows you to collaborate with team members and share designs easily.
How Does See Electrical Work?
See Electrical uses a drag-and-drop interface, allowing you to easily add components to your design. The software includes a library of pre-made symbols and templates, making it easy to get started.
Once you have added components to your design, you can use See Electrical's automation features to number wires and components and generate reports. See Electrical also includes a range of tools to help you ensure your design is accurate and meets industry standards.
Features of See Electrical Guide:
1. See Electrical Basic: This is the entry-level version of the software and includes basic electrical design features such as the ability to create single-line diagrams, basic reports, and customizable symbol libraries.
2. See Electrical Standard: This version includes all of the features of the Basic version, as well as advanced features such as 3D design capabilities, bill of materials management, and automatic numbering and cross-referencing.
3. See Electrical Advanced: This is the most comprehensive version of the software and includes all of the features of the Standard version, as well as additional features such as cable harness design, real-time collaboration, and automatic routing.
4. Symbol libraries: See Electrical includes a wide range of pre-made symbol libraries, including electrical, hydraulic, and pneumatic symbols. Users can also create their own custom symbol libraries.
5. Automation features: See Electrical includes a range of automation features that can help save time and reduce errors. These include automatic wire numbering and cross-referencing, automatic component placement, and automatic report generation.
6. Collaboration: See Electrical allows users to collaborate on designs in real-time, with features such as automatic synchronization and the ability to track changes made by team members.
7. Industry standards: See Electrical includes tools to help users ensure their designs meet industry standards, such as the ability to check for errors and inconsistencies, and the ability to generate reports and documentation for compliance purposes.
For more info you can download See Electrical Guide:
Download
Conclusion
See Electrical is a powerful electrical design software that can save you time and improve accuracy. With its intuitive interface and range of automation features, it is a popular choice for engineers, contractors, and electricians worldwide. By optimizing your See Electrical guide for search engines, you can ensure that it is found by users looking for information about the software, and help them get the most out of this powerful tool.